
Instrument sterilisation in the beauty salon is sometimes treated as an activity that begins and ends with putting a pouch in the autoclave. In reality it consists of several stages, and each of them can be done badly in a way invisible to the naked eye. The whole process does, however, fit on one sheet of paper, and after one proper team training it comes down to keeping the records.
Instrument sterilisation starts long before the autoclave
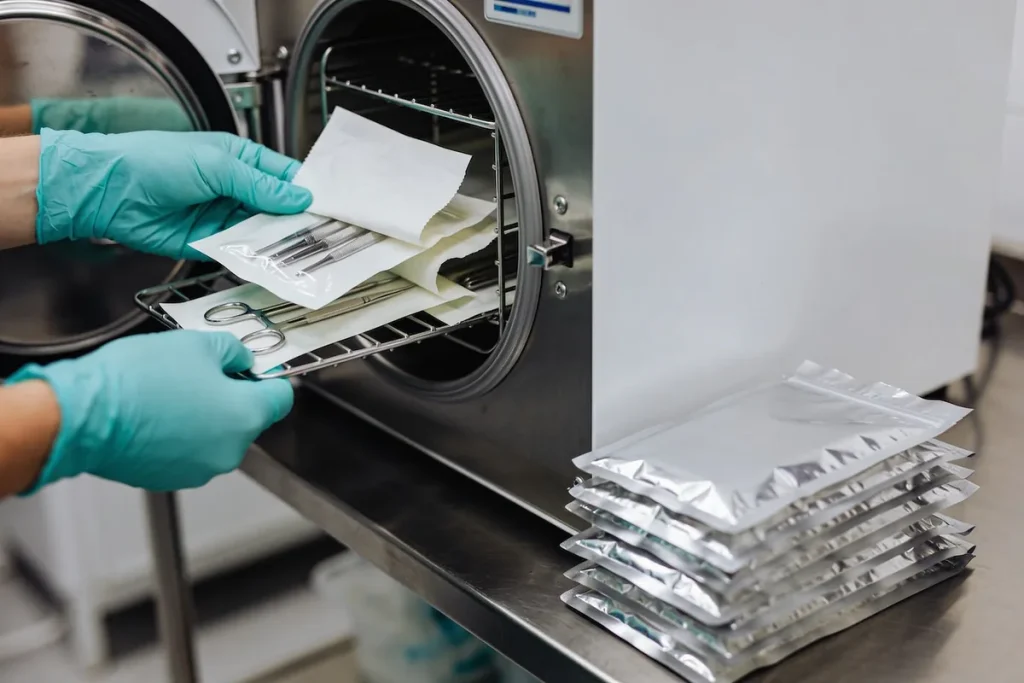
Instrument sterilisation starts the moment instruments are put down after a treatment, and the instrument then goes through a fixed sequence. First, initial disinfection, before contaminants have time to dry, usually by immersion in a solution of a product with a confirmed spectrum of action and at the concentration indicated by the manufacturer. Then washing, by hand or in an ultrasonic cleaner, which removes organic residue. Next, thorough drying, because moisture spoils both the pouch and the course of the cycle. After that, inspection and maintenance: an instrument that is blunt, corroded or has play in the joint is not fit for packing. Only at the end come pouching and sterilisation.
Instrument sterilisation does not forgive shortcuts in this sequence. A steriliser does not remove contaminants; it only kills microbes on the surface the steam can reach. A residue of dried substance can shield that surface.
Sterilisation does not repair washing mistakes. It works only where steam reaches a clean surface.
Classes of steriliser and what follows from them
Instrument sterilisation relies on devices described by the PN-EN 13060 standard, which divides small steam sterilisers into three cycle types. Cycle N is intended exclusively for solid, unwrapped instruments. Cycle S handles loads specified by the device manufacturer, so its scope has to be checked in the instructions. Cycle B, based on fractionated pre-vacuum, copes with wrapped, porous and narrow-lumen instruments. In a salon where instruments are pouched and stored until use, the practical standard is a device with cycle B.
The recommendations of Poland’s Chief Sanitary Inspector (GIS) for the beauty industry indicate sterilisation with pressurised steam in devices meeting the requirements of this standard, and an annual technical inspection of the steriliser. This is also the first question asked during an inspection, alongside the process documentation.
Checking instrument sterilisation: three levels
- Physical control: the cycle parameters read from the display or printout, that is temperature, pressure and exposure time.
- Chemical control: indicators placed on the pouch and inside it, which change colour once the process conditions have been reached. An external indicator says only that the pouch was in the chamber.
- Biological control: a test with highly heat-resistant bacterial spores, the only one that checks the real effectiveness of killing microbes. GIS recommends performing it at least once a week.
In devices with pre-vacuum, a leak test and a steam penetration test are used in addition. The results of all controls should go into the register, together with the date, the cycle number and the signature of the operator.
Pouching and storing instruments after sterilisation
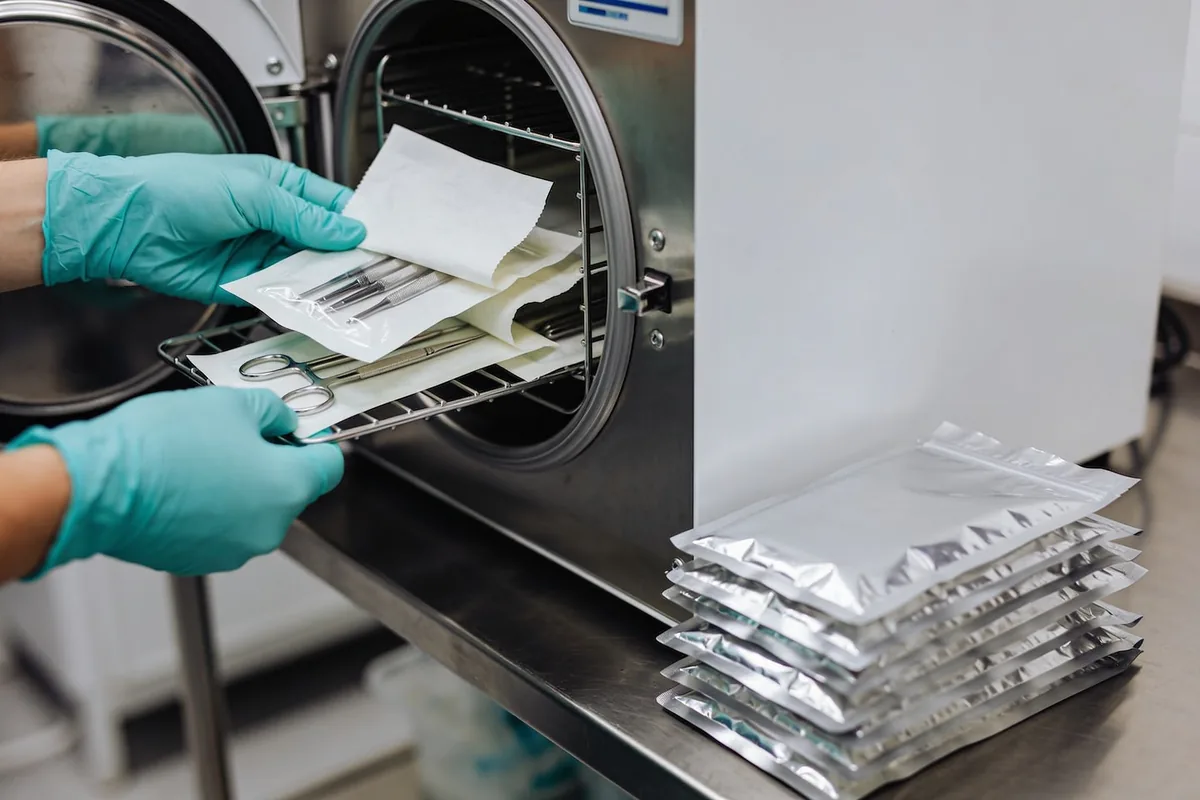
After instrument sterilisation, the packaging counts. A paper-film sleeve is matched to the size of the instrument, with a margin that allows a proper seal. The pouch is labelled with the sterilisation date, the cycle number and the expiry date. GIS recommendations indicate that material in paper-film packaging should be treated as sterile for no longer than two months, and the documentation should make it possible to link specific instruments to a specific client.
Storage matters just as much. Keep pouches in a closed, dry cupboard, away from the washbasin, the window and sources of heat, without cramming or bending them. A damaged, damp or out-of-date pouch goes back for reprocessing. We describe the premises requirements and the separation of the dirty zone from the clean one in more detail in the article on GIS guidelines for the beauty industry.
Disinfection and instrument sterilisation: when one is enough
Instrument sterilisation is sometimes confused with disinfection, yet the two terms mean different things and denote different levels of safety. Disinfection reduces the number of microbes to a level regarded as safe for a given use. Sterilisation eliminates all forms, including spores. The Spaulding classification organises the criterion for choosing: instruments in contact only with intact skin require low- or intermediate-level disinfection, contact with mucous membranes high-level disinfection, and instruments that break the continuity of tissue or may come into contact with blood require sterilisation.
With disinfectants, three things count that are easy to forget in a rush: a spectrum of action confirmed by tests to European standards, the working concentration and exposure time given by the manufacturer, and the date the solution was prepared. A solution left in the tray for a week does not work as the label assumes. It is worth writing these three parameters on a card at the workstation instead of relying on the team’s memory on a day when the schedule is full.
Where instrument sterilisation most often fails
The most common mistake in instrument sterilisation is overloading the chamber. Pouches packed tightly block the flow of steam, and the cycle ends with success on the display while the load is not fully penetrated. The second is packing wet instruments. The third is the lack of a register, without which it is impossible to reconstruct when and with what the instruments used on a specific person were sterilised. The fourth is treating disinfection as a substitute for sterilisation with instruments that break the continuity of tissue.
Single-use instruments are a separate matter. If the manufacturer has marked a device as single-use, reusing it is not permitted, however good it looks after disinfection. In practice a disposable often works out cheaper than maintaining a full cycle for a small instrument.
The most common questions about sterilisation in the salon
Is sterilising instruments outside the salon permitted?
Yes, provided you have documentation confirming that it was carried out. The GIS recommendations say so explicitly. You also have to ensure safe transport of the instruments in both directions and a register that links batches to treatment dates.
Is a steriliser with cycle N enough?
For solid, unwrapped instruments yes, but you do not sterilise pouches in it. If you want to store sterile instruments until the treatment, you need a cycle suitable for wrapped loads, which in practice means cycle B.
How long should instrument sterilisation registers be kept?
The regulations do not specify a single period for beauty salons. It is sensible to keep the process documentation at least as long as clients’ treatment records, so that the course of events can be reconstructed if a report is made.
For the salon in brief: instrument sterilisation in the beauty salon is a chain running from initial disinfection to storing the pouch. You need a device suited to the type of load and three levels of process control, and GIS additionally recommends a register that makes it possible to link instruments to a specific client.
Are you planning to put instrument sterilisation in order or replace your steriliser? Book a free consultation and see the devices available in Este Sklep.